Bentley provides a number of pre-built templates, and they also give you a number of components to build your own. Unfortunately, you cannot build any new components, but I have found that you can manipulate almost any provided component into one that will work for the planning stages of a project.
For my project, I need a 2-lane with curb and gutter, and 5ft sidewalk on one side and 10ft trail on the other side. This is meant to fit in an existing corridor with 60ft right-of-way.
To increase the accuracy of earthwork quantities, add in subgrade components to your template to represent rock and other subgrade materials. By changing the material on the component this will show up in the quantities as another line item.
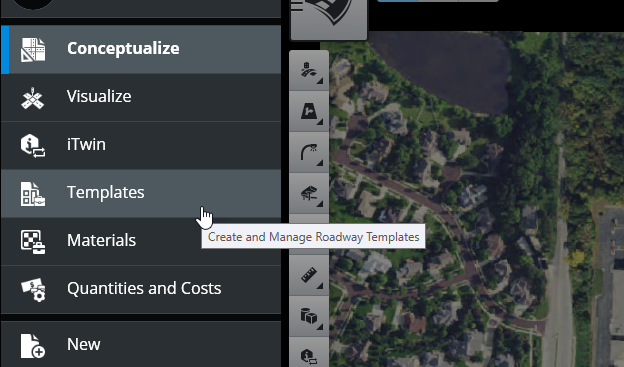
- Access OpenRoads ConceptStation Template Settings:
- Navigate to the template settings or options. This is often found in the menu or toolbar, and it may be labeled as “Templates.”
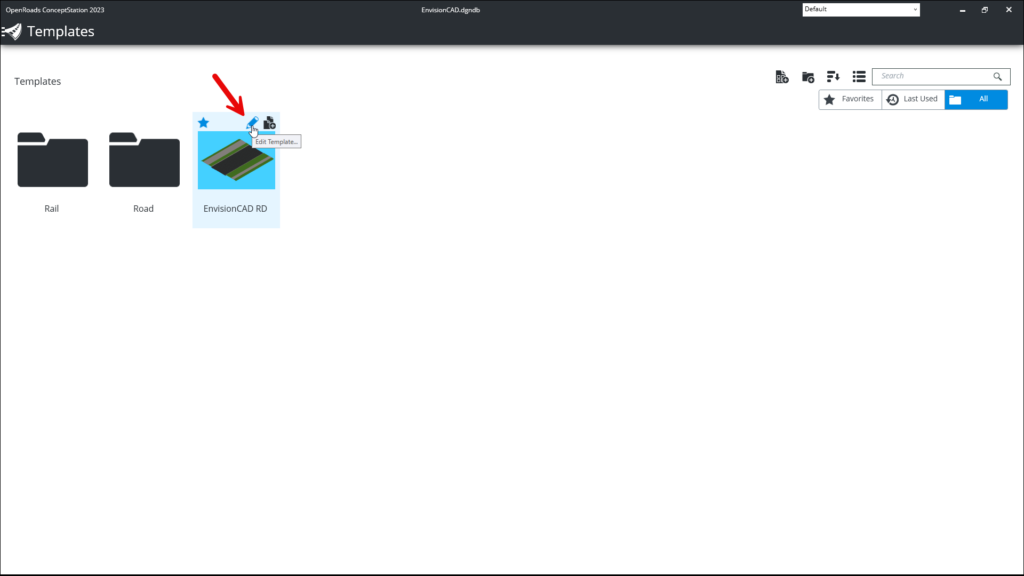
- Click on the pencil icon to edit the preferred template:
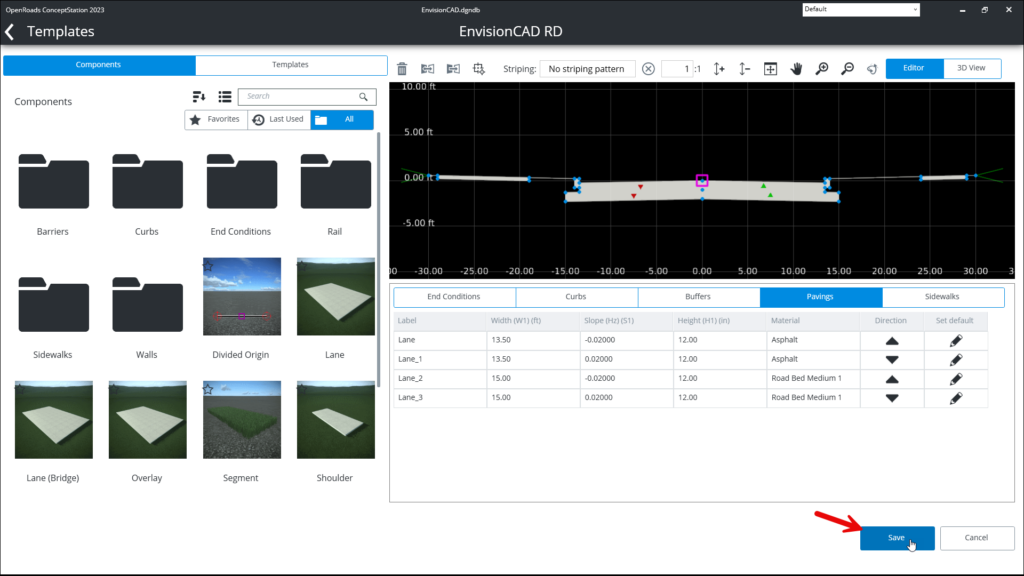
- Add “New” components to the template:
- In this example, we add a lane component to represent subbase material.

- Navigate to Material Settings:
- In the component properties, there should be a section related to materials. Look for options like “Material.”
- Choose or Define Material.
- Within the material settings, you should be able to choose from a list of predefined materials or define a custom material for the selected component.
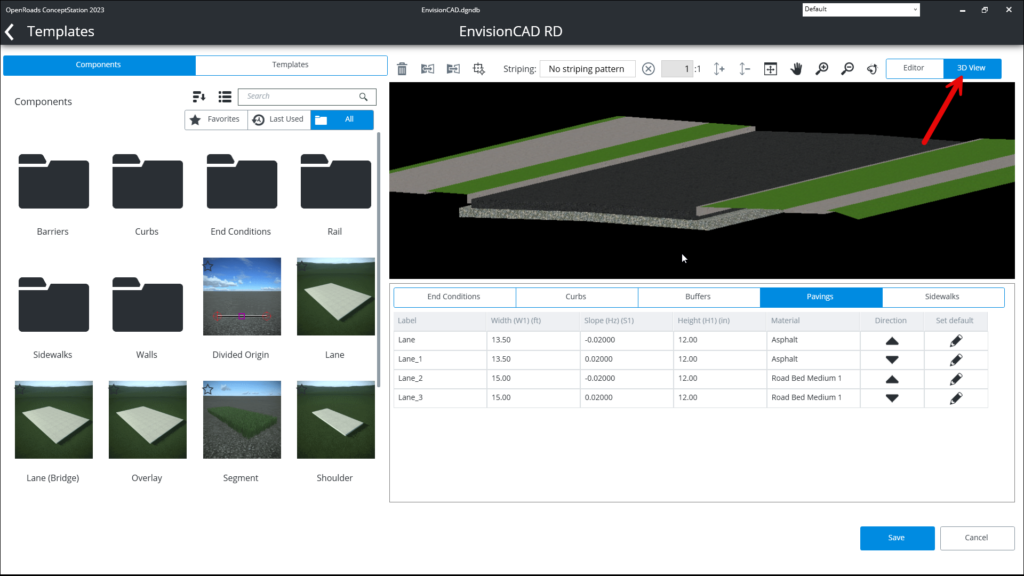
- Review the template in the 3D view to see the new component material.
- Save Template:
- After making the necessary changes, save the template to ensure that the modifications are retained for future projects.