Revit has two different ways to copy elements: Copy and Copy to Clipboard.
The Copy command is used to duplicate objects within the same view
- Select the object or objects
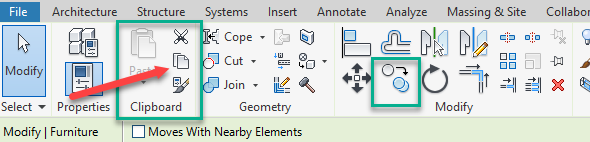
- Select Copy
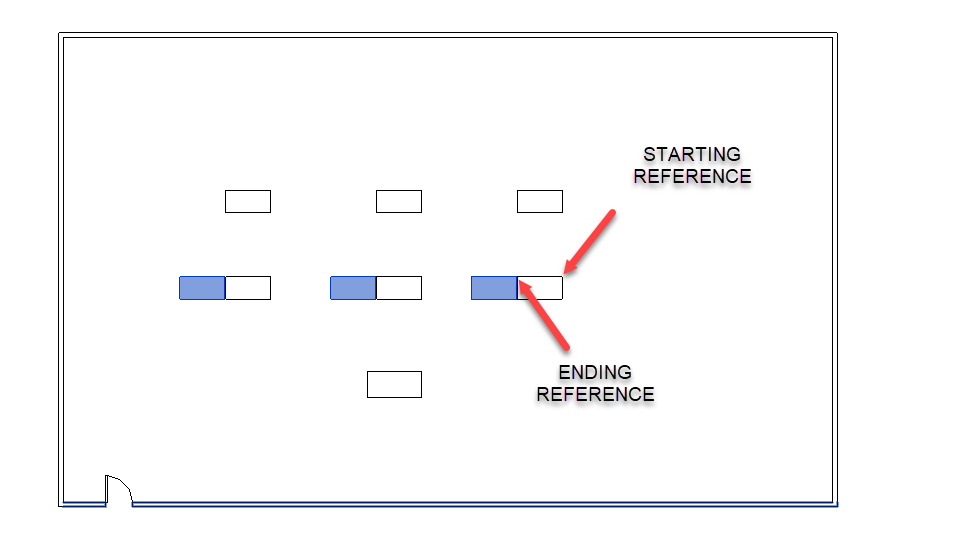
- Click on the beginning reference point
- Click on the ending point
In this picture, I selected 3 desks and copied them to the far side of one.
Suppose you have the perfect arrangement of desks, or office layout or even furniture in an apartment building. You wouldn’t want to have to recreate all the floor plans for each floor.
That’s where Copy to Clipboard comes in handy – to Copy to other views, models or other floors in the same model.
- Select all the objects you want to copy
- Use the Copy to Clipboard Command
- The Paste button becomes selectable now that something is on the Clipboard
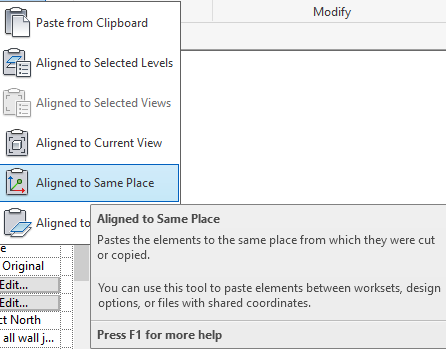
- Click on the downward Arrow
- Select Aligned to Selected Levels
- And you will get a window with all the available levels
- To select multiple levels use the shift/ left click to select a series or control/ left click to select multiple and OK
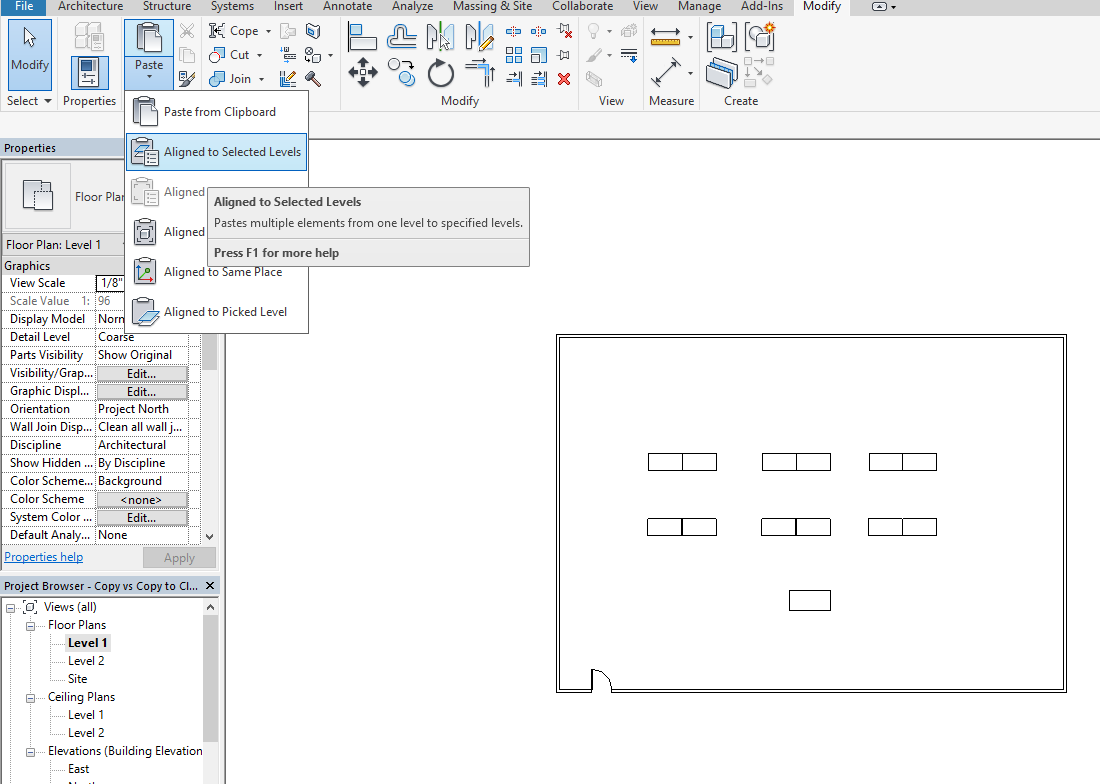
Depending on how much is being copied this could take some time.
All the objects on the Clipboard are copied in the same position to the floors selected.
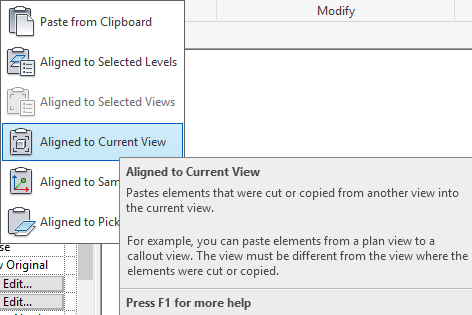
To Copy to another View:
To Copy to another model:
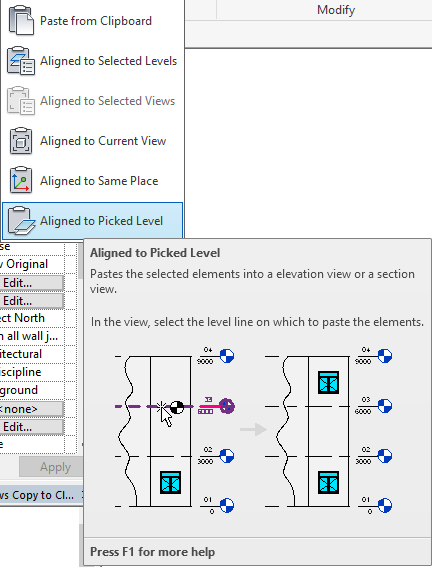
And to copy to a level that you pick in an elevation view:
The elements stay on your Clipboard until you select others to replace them.