An easy way to customize your model in Revit is the Material Browser. Out of the box, Revit has hundreds of different materials and thousands more can be found on line at sites like https://bimobject.com. You can also create your own materials.
In the Manage ribbon click  and the Material Browser opens. Depending on the template Revit comes already loaded with a wide variety of materials in a column on the left with 5 tabs of properties on the right.
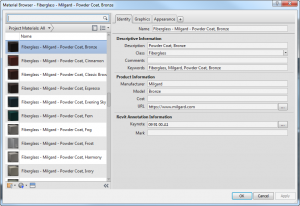
The identity tab is not used much by the box materials but it has a lot of options to customize your materials for scheduling, filtering and linking to websites.
The Graphics Tab controls the material color, surface pattern and cut pattern, while the Appearance tab controls how the material looks in Realistic views and renderings. The Physical and Thermal tabs contain even more information for analyzing the objects but we are only working with the surface appearance for now.
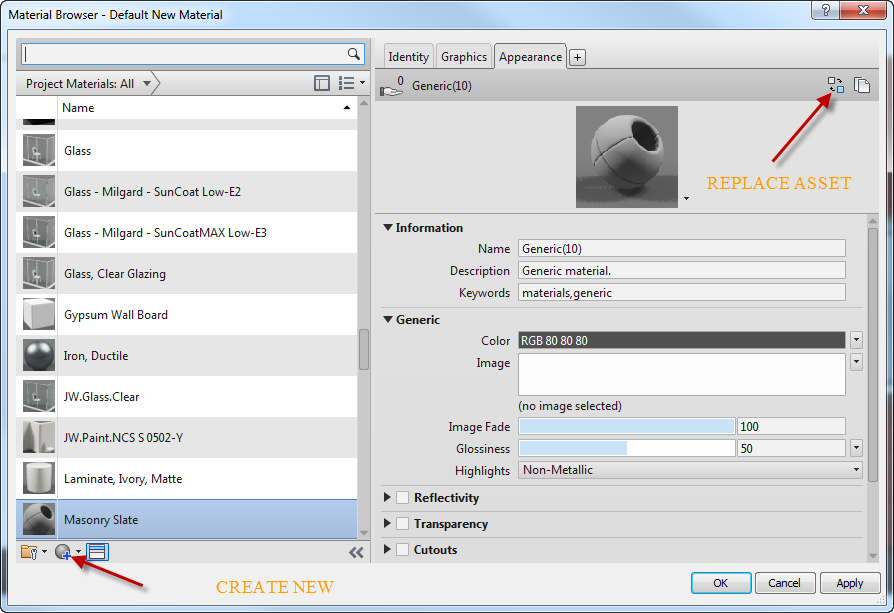
To demonstrate I’ll create a slate wall with a hardwood ash floor. I’ll start by creating a new material and name it Masonry Slate.
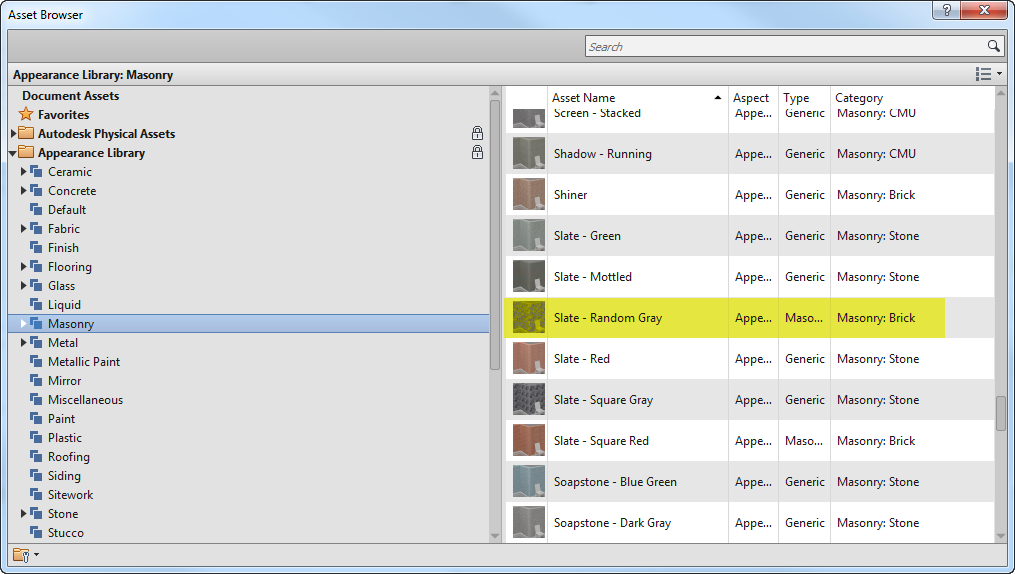
In the upper right corner of the Material browser is the Replace Asset button which opens the Asset browser window. In the Physical Assets column select Masonry and Slate.
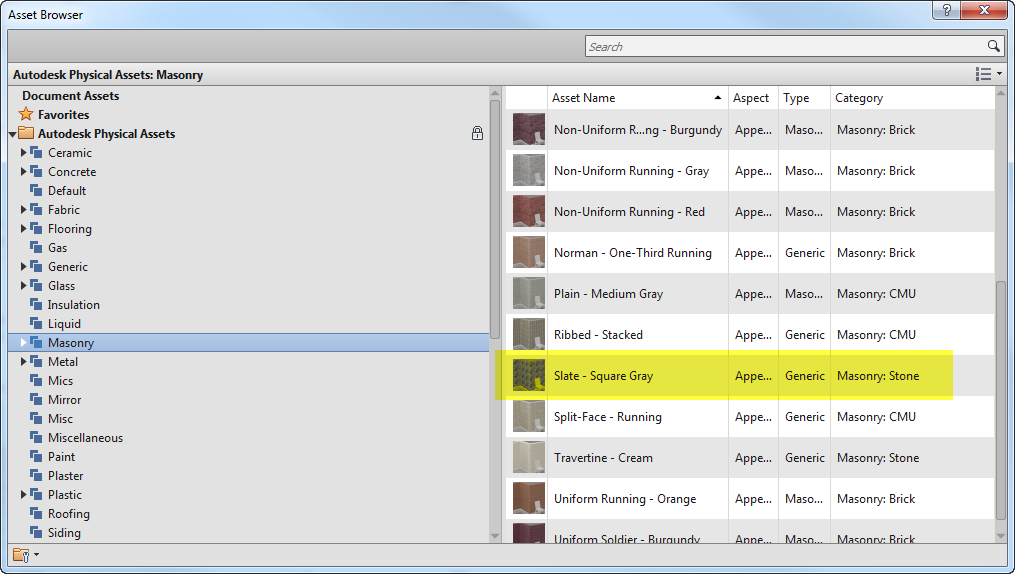
Next under the Appearance Library select Masonry, Slate- Random Gray
For the floor material, I have downloaded a material tif from bimobject.com and saved it to my project folder.
Instead of new material I’ll duplicate the oak flooring and rename ash floor. I’ll duplicate the assets so the Oak Floor stays the same when I make the changes.
Under the image select the file and insert the saved ashgotland image. The name, description and other identity fields can be updated.
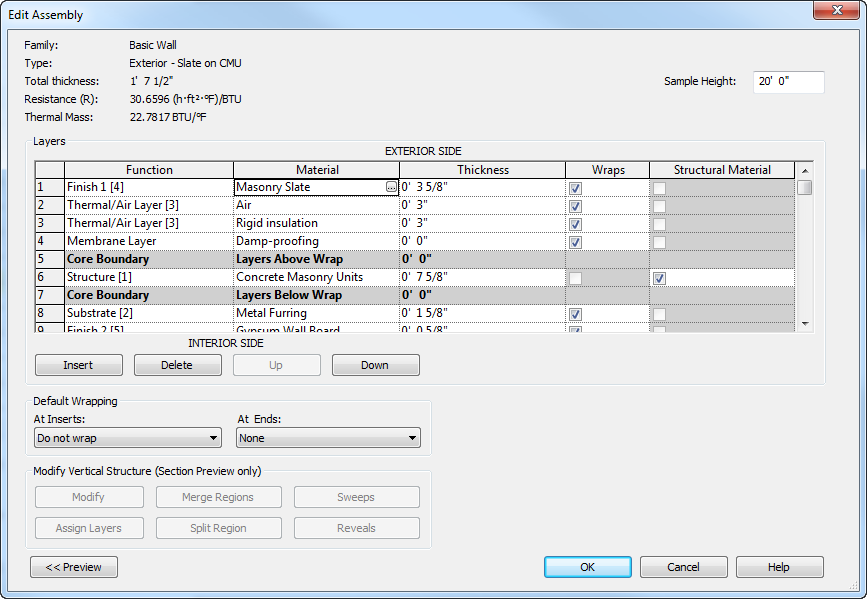
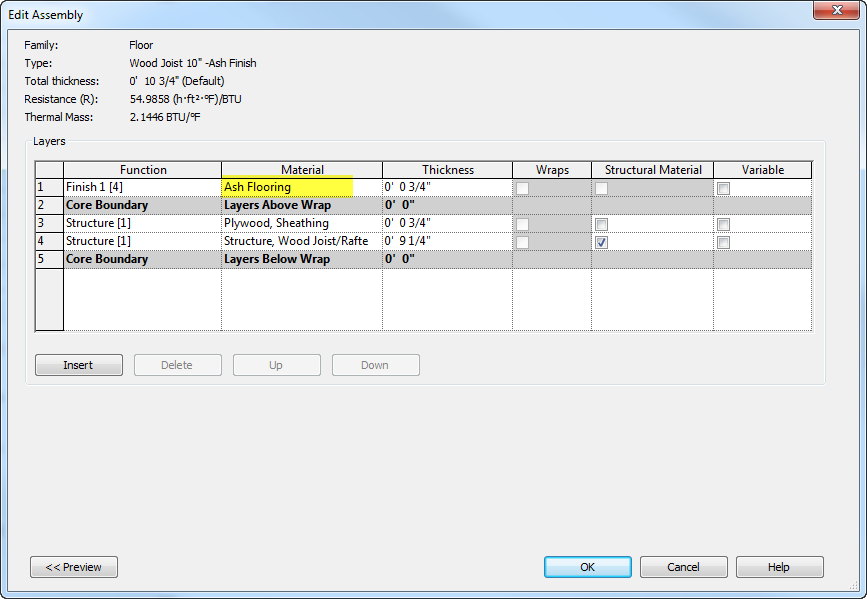
Next, apply these materials to the wall and floor:
I used the Wood Joist 10” Wood finish copied it and named it Ash finish. For the wall, I used the Exterior Brick on CMU and named it Slate on CMU.
In the Properties > Edit Type > Structure select and replace the finish for both.
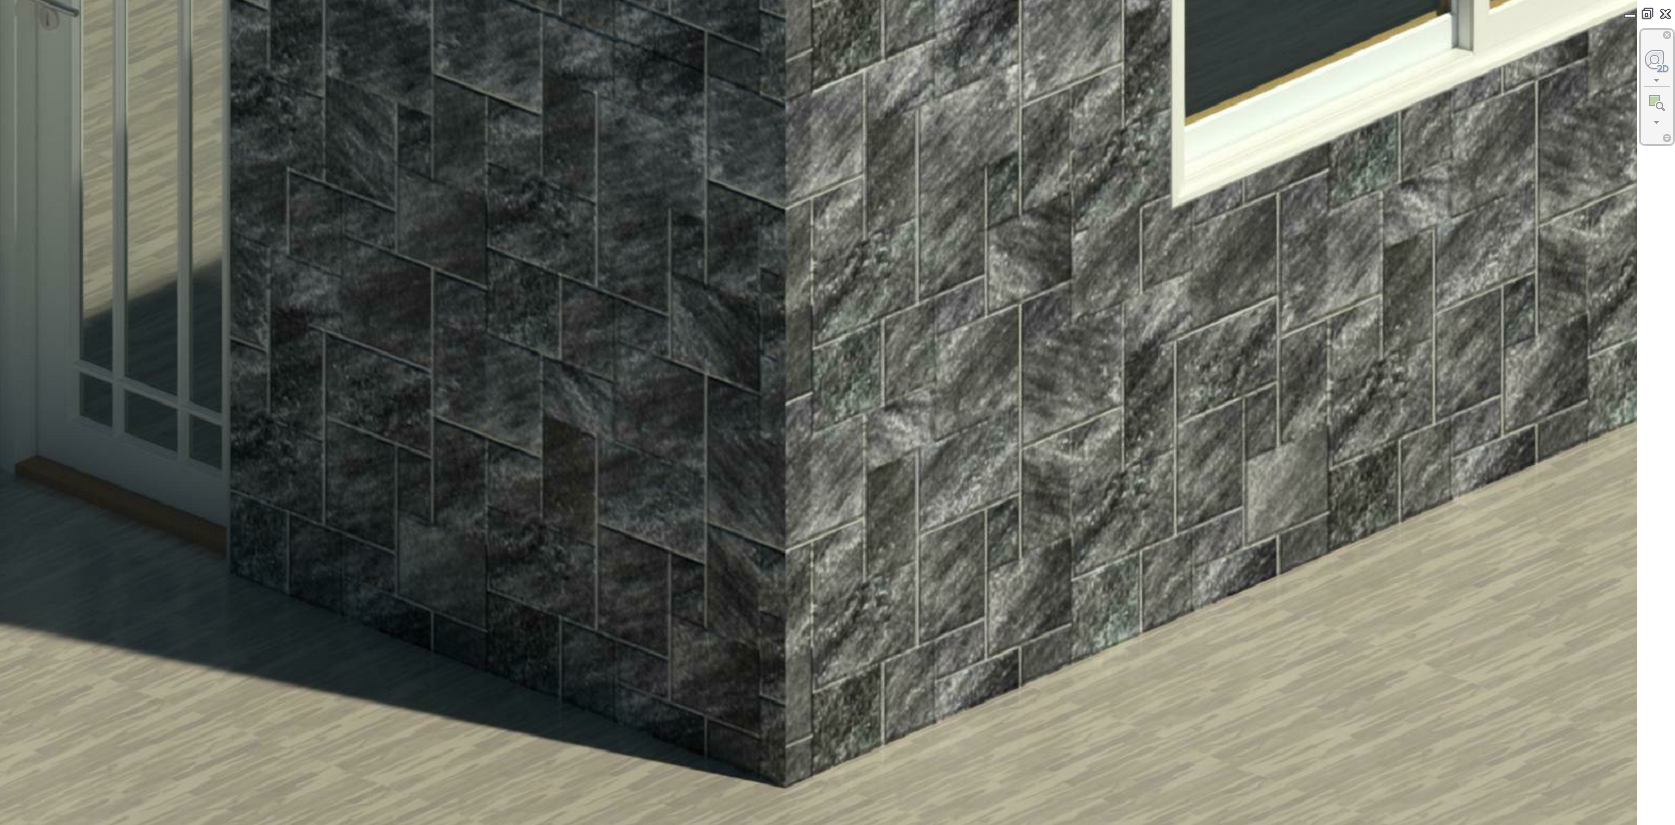
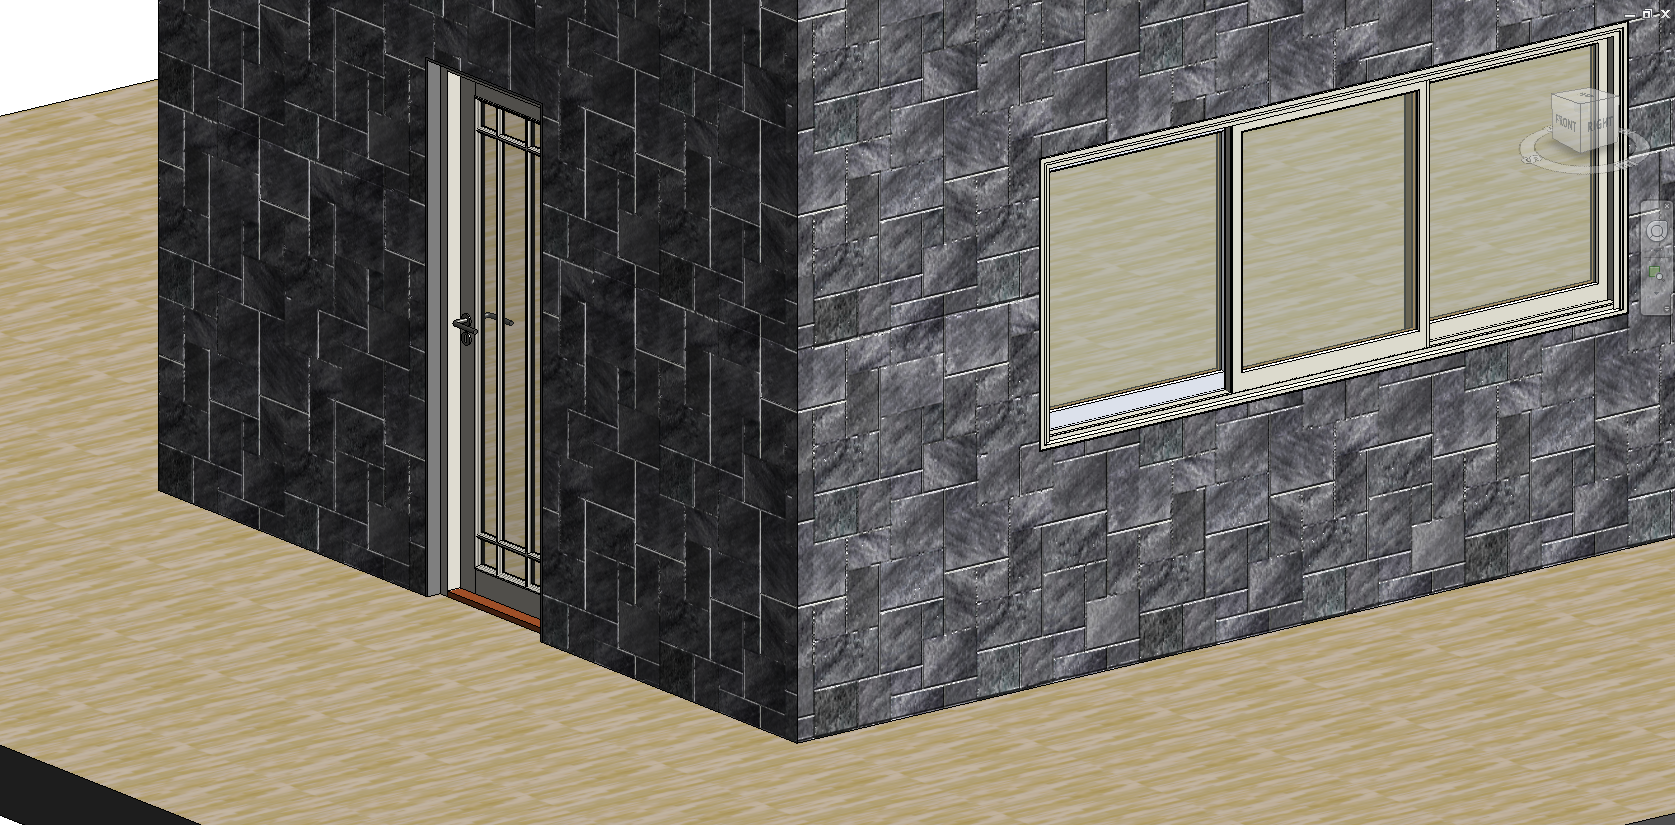
The 3D image:
And the rendered image: