Now that we have discovered the power of visibility states in my previous tip, let’s move forward with exploring other ways to enhance your blocks. This time we will focus on attributes. For those of you who are not familiar with attributes, they are simply lines of text within a block that allow the user to enter in a desired value or text when the block is inserted into their model. Modifying an attribute is the only way to edit text within a block after the block has been placed, aside from going into the block editor and manually making the change.
To add an attribute to your block:
- Open the block in block editor, or create a new block.
- Choose the visibility state and layer that you wish to add your attribute to.
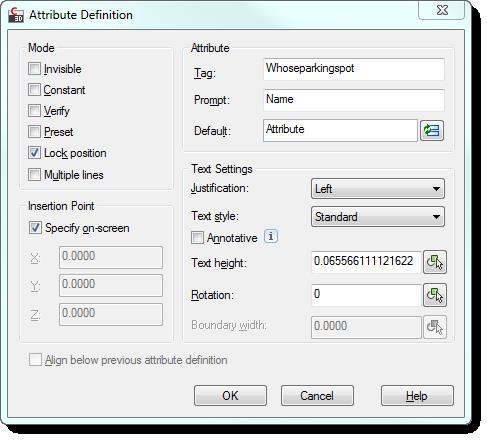
- Type the command “ATT”. The Attribute Definition dialog box will appear.
- Make sure that only the Lock position box is checked in the Mode section of the dialog.
- In the Attribute section of the dialog enter a Tag, Prompt and Default values.
- Tag: enter a name for your attribute. There can be no spaces in the Tag name.
- Prompt: enter what would like to say as a prompt to the users.
- Default: enter a default value, or text that will automatically show up in the block until it is changed by the user.
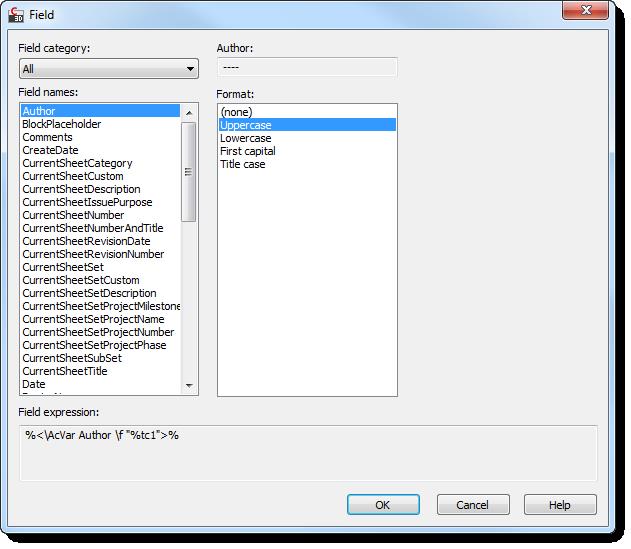
**Clicking the button to the right of the Default field, you can add a dynamic field as all, or part of your attribute text (i.e. – date, sheet title, etc.)
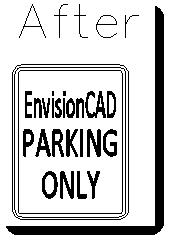
Example of editing an attribute:
1) Insert a block with an attribute.
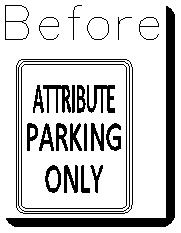
2) Double-click the block. The Enhanced Attribute Editor dialog will appear.
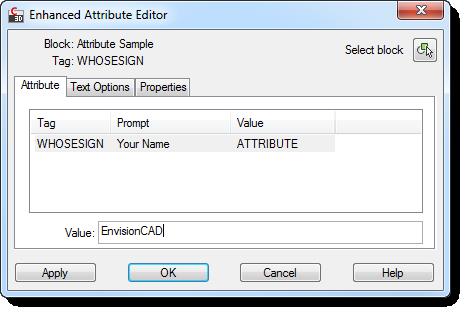
3) In the Value field, type the desired text to replace the default attribute and Click OK.
**Modifying the properties of the attribute, like any other test in a block, can be done by selecting it in block editor, right-clicking, and choosing “Properties”.
People also read: Playing With Blocks – Visibility States
Don’t want to miss out on other great information? Subscribe to this blog or our monthly eNewsletter now!
Learn More ◊ Contact us today ◊ Newsletter ◊
