Written by: Bob Mecham
OpenRoads Survey allows users to attach media files such as photos, movies and sounds to survey data. Beginning in 08.11.09.674, images can be automatically imported and assigned to specific points from any data collector format. The rule is that the point must contain an attribute where the attribute name contains “PHOTO” and the attribute value contains the image relative path and name. If you manually want to attach the media files with your data they can be attached easily using the following steps.
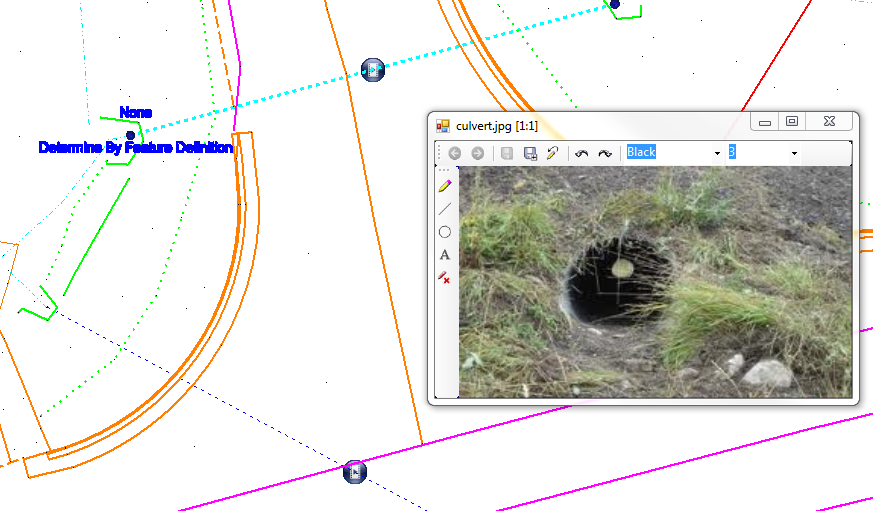
1. Use the MicroStation Element Selection tool to select a Survey Element.
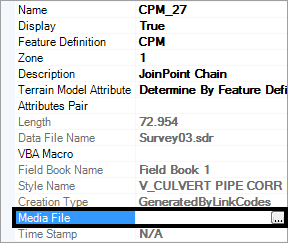
2. Hover over the element and select the Element Properties icon from the mini-toolbar.
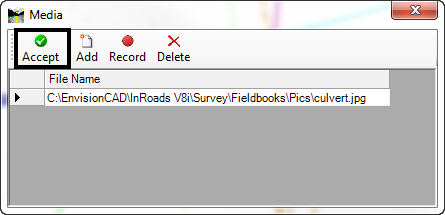
3. From the Element Properties fly-out click the ellipsis icon for Media File. The Media dialog box will appear.
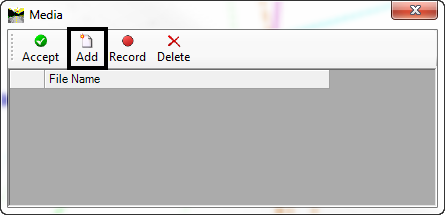
4. Click the Add button and browse to the media file to attach. Additional Media files can be added to one survey data figure or point.
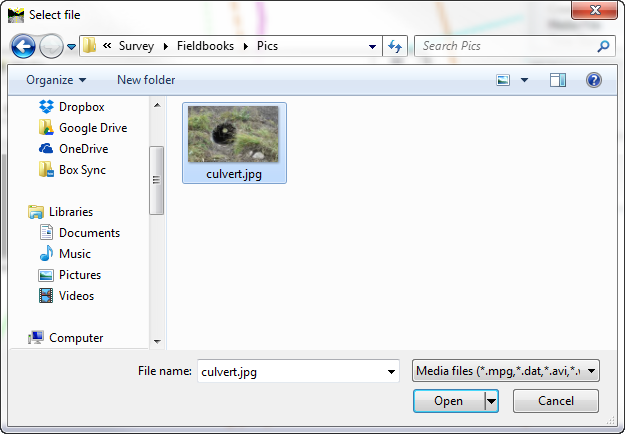
5. In the Media dialog box click the Accept button to attach the media and close the dialog. A Media glyph will appear on the survey data.
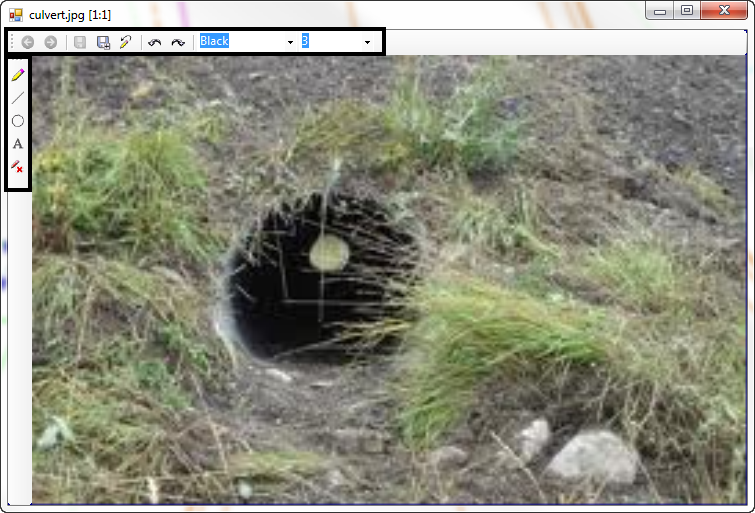
6. Select the survey element again with the Element Selection tool from the mini-toolbar and select Media icon to view the image.
7. The image viewer/editor will appear. If more than one media file was attached the green arrows will allow for viewing multiple files.
Last Month’s Tips:
InRoads Tip: Place Dimensions MicroStation Tip: Import Linestyles VBA Tip: Maxmimize the
in Roadway Designer into a DGN Library MicroStation ElementEnumerator
Don’t want to miss out on other great information? Subscribe to this blog or our monthly eNewsletter now! Learn More ◊ Contact us today ◊ Newsletter ◊
